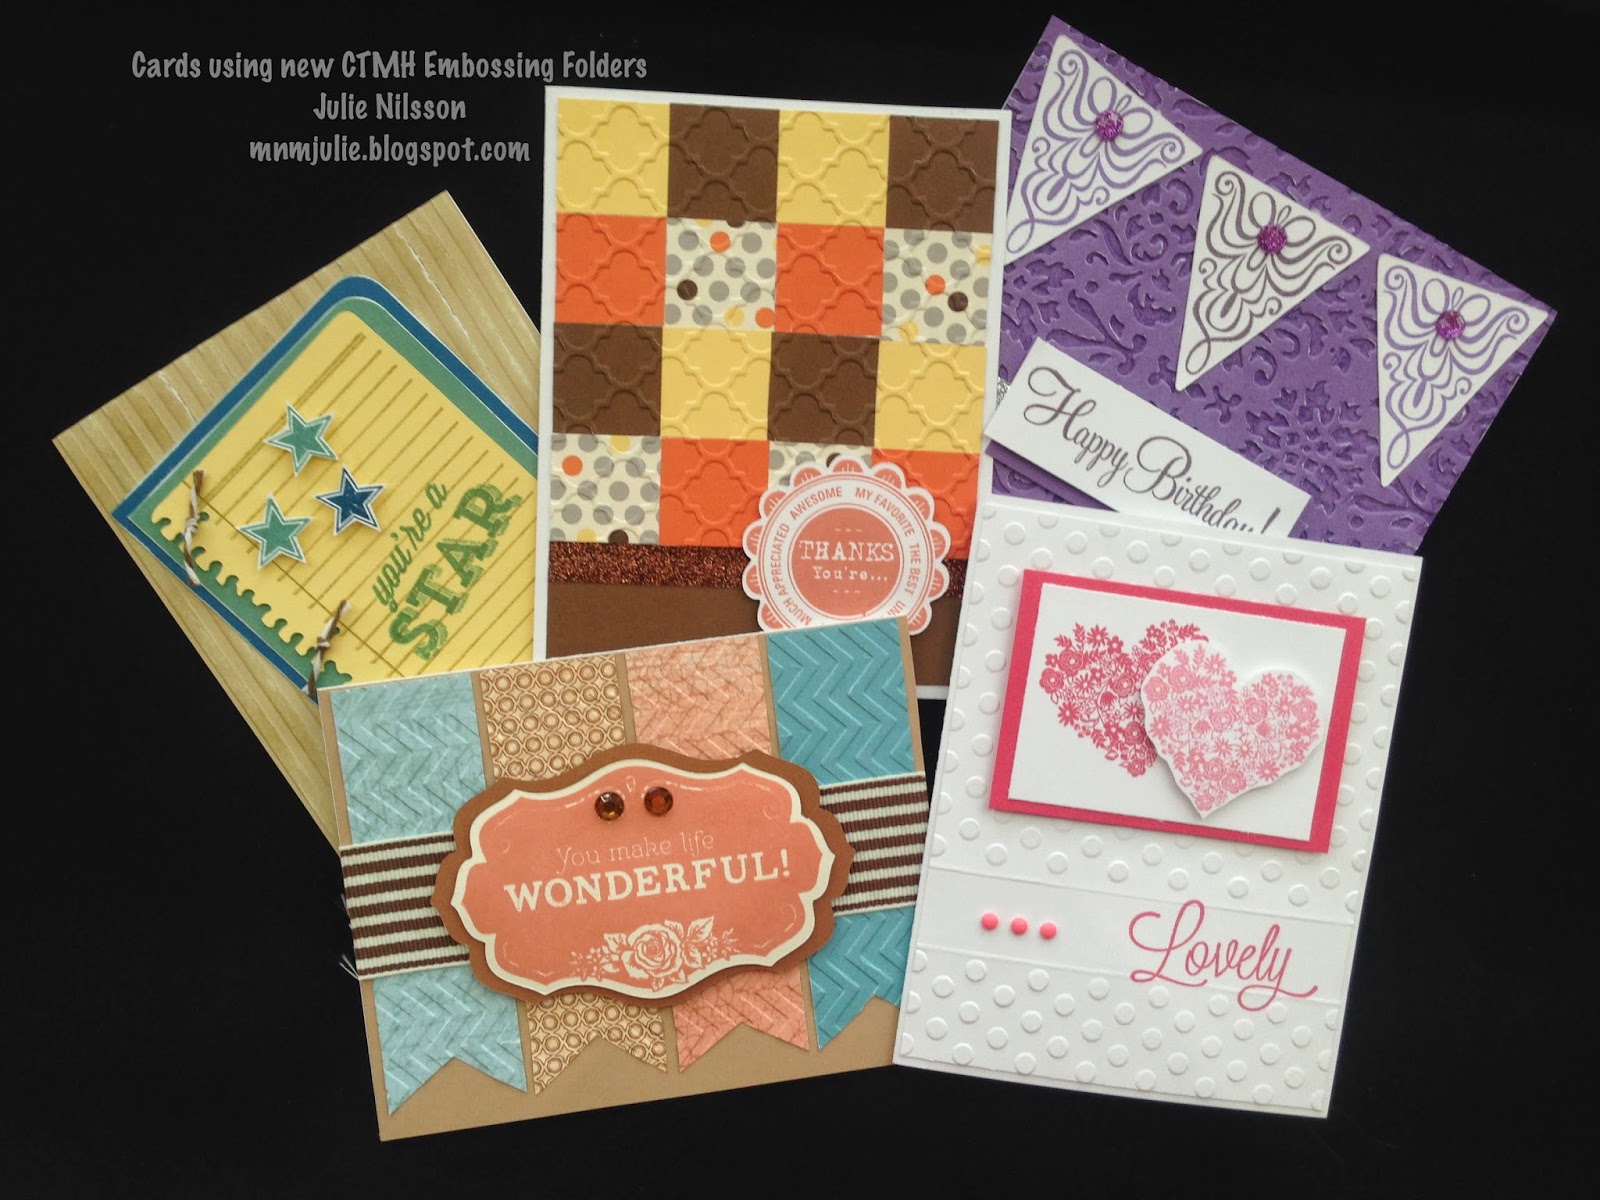
During our team training last week, one of our team members, Randa Wacaster taught us a few techniques using the new CTMH Embossing Folders. I have been a novice using Embossing Folders until CTMH introduced our new 5 embossing textures:
Dot,
Chevron,
Quatrefoil,
Damask and
Stripe.
After Randa's class, I realize she only got us started...
so many techniques to try, so many different looks.
I know, everyone wants to see a close up of the cards...don't worry, I got your back! LOL
The "lovely" card obviously uses the
DOT Embossing Folder. Notice the strip that isn't embossed? It's a perfect spot for your stamped images, and embellishments as shown here. Just place your card front, not card base (this one is white on white) in the embossing folder about 2/3 of the way, run it through the embossing machine (I have a Cuttlebug), then remove your cardstock, turn your cardstock 180*, line up your impression in the embossing folder leaving about a 1" space from your previous impression, and run it through your machine again. Then, using your trimmer and a stylist, make a dry embossed line just below and above your impression. This card uses the stamp set from the
Artbooking Cricut Collection, and
Flamingo Dots. Simple, yet elegant.
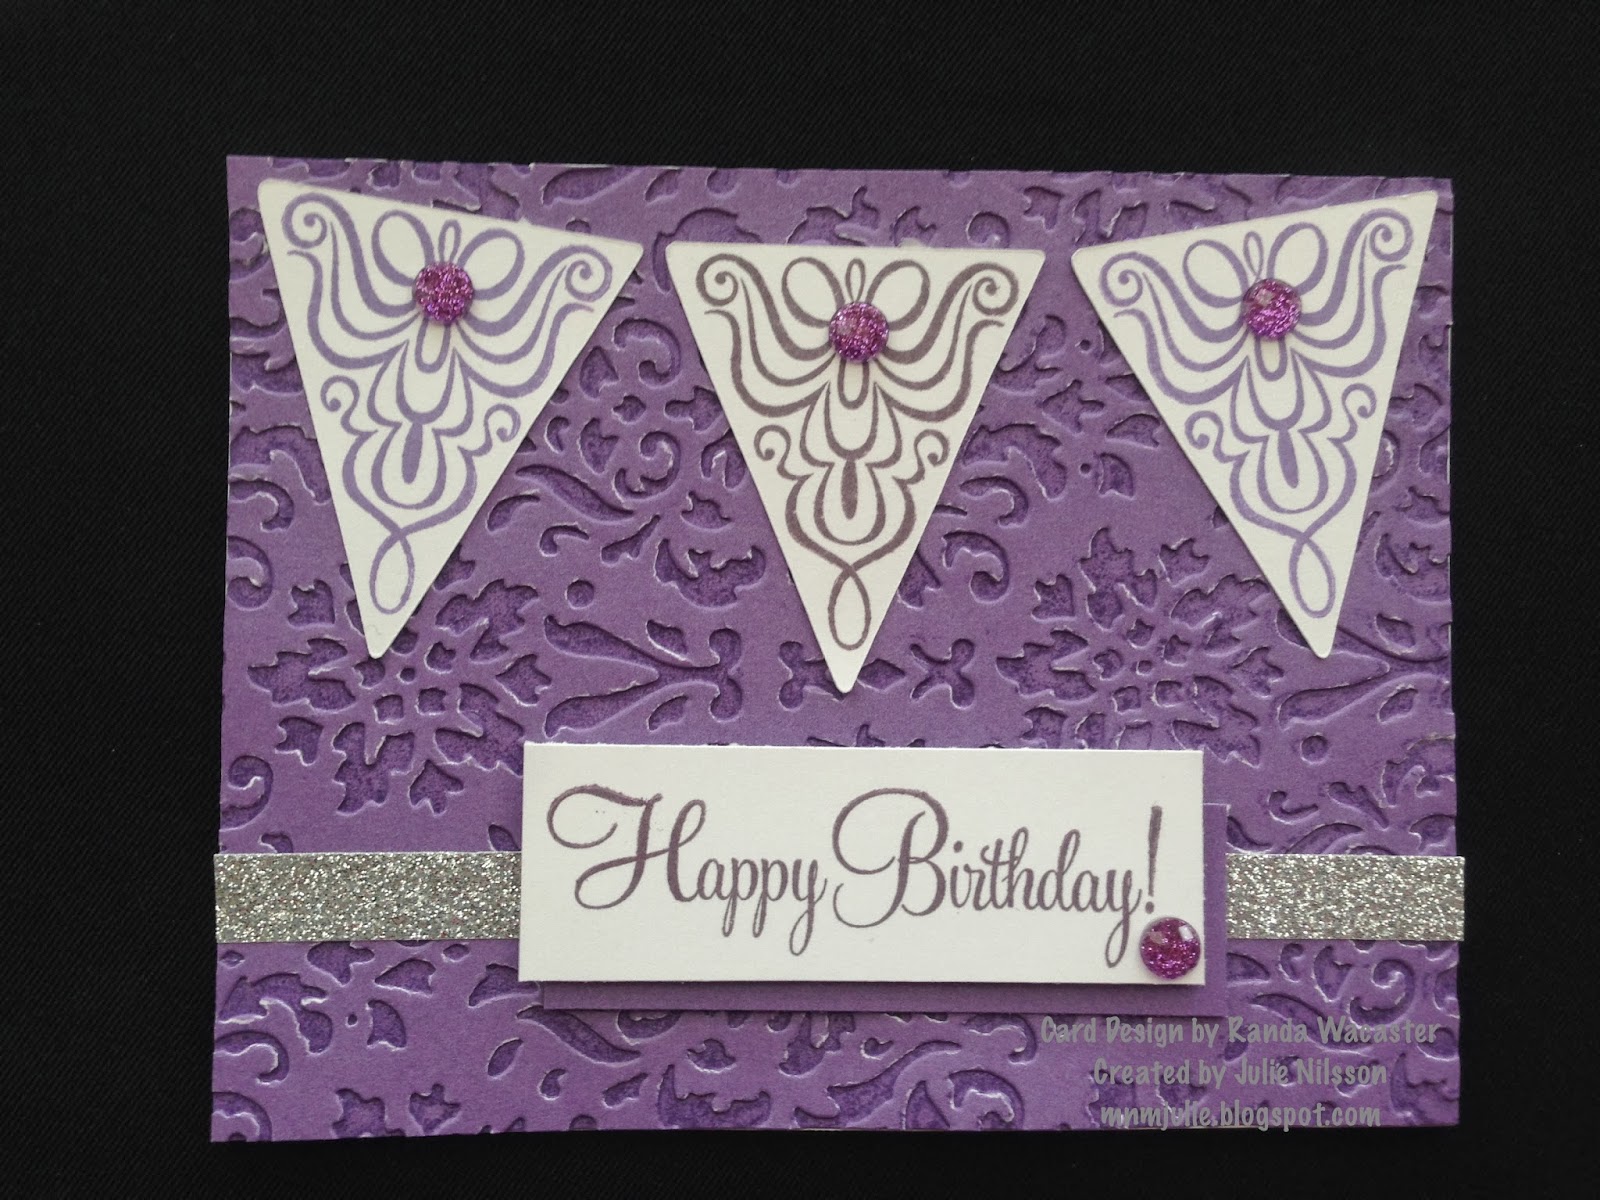
The "Happy Birthday" card shows a monochromatic texture. I inked the positive side of the embossing folder with Smokey Plum ink on Gypsy cardstock, and ran my card front through the Cuttlebug embossing machine using the
DAMASK embossing folder. If you ink the negative side of the embossing folder, you get a whole new look...try it!!! It's so cool!
The "you're a STAR" card uses the
STRIPE embossing folder, and distressed with desert sand ink after it was embossed. Discovered that you really want to watch the "grain" of your paper, when you cut for embossing. When I ran the card front through the Cuttlebug against the grain of the paper, the texture looked "cracked", which is a cool technique...but you can avoid the "cracking" if you cut your paper to go along the grain of the paper when you emboss. The colors used for the card are Bamboo, Pacifica, Juniper and Buttercup. The stamped images came from the Take Note stamp set with the
Artbooking Cricut Collection.
NOTE: for this project only, the lined notebook paper Cricut image is cut at 3-3/4" not 4" as noted on the stamp carrier sheet.
The "THANKS" card is a fun and new technique for me, using the
Babycakes paper. It's a great technique to use up some small scraps (if you keep scraps 1x1"). Simply cut enough 1x1" scraps and create your quilt-look on a piece of cardstock (my piece was 4x4), adhere all your squares side by side, and then run through your embossing machine using the
QUATREFOIL embossing folder. We added some
Bronze Shimmer Trim and used the sentiment from the
Art Philosophy Collection stamp set.
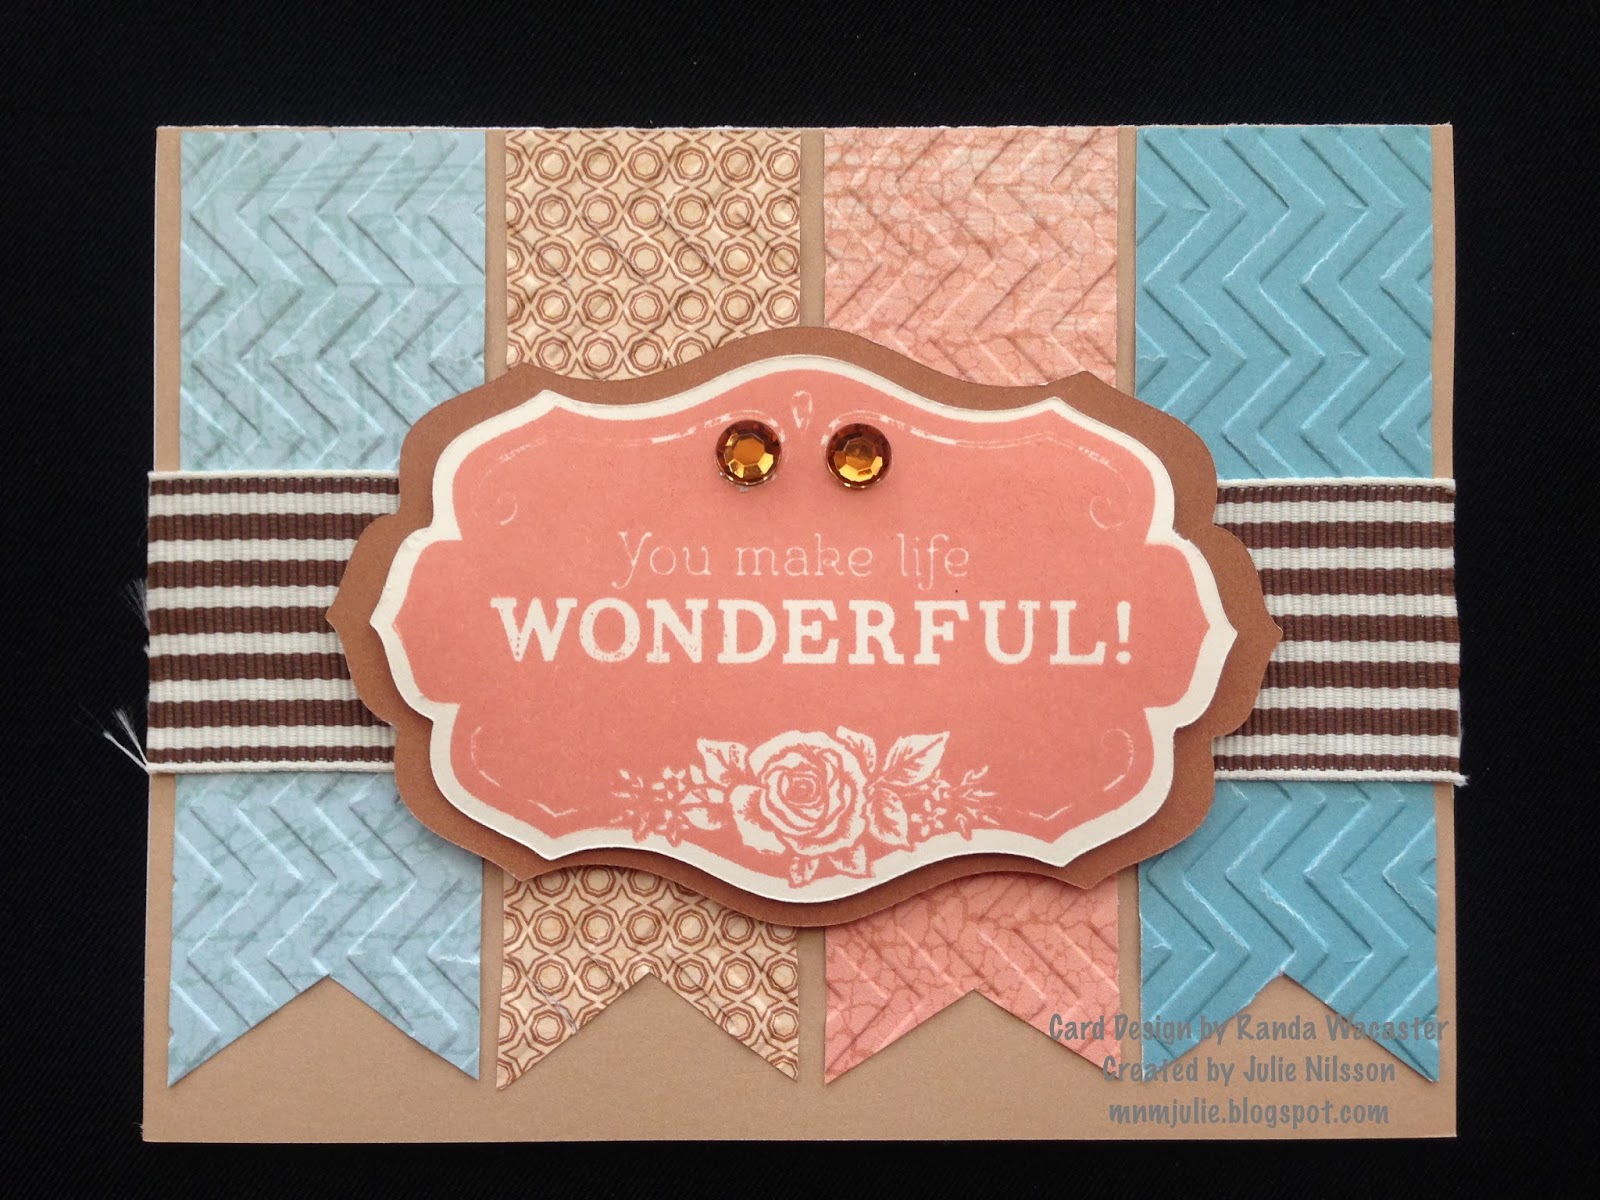
Finally, the "wonderful" banner card uses the
CHEVRON embossing folder and the
Balloon Ride papers. This time, we cut the strips of paper, laid the strips of paper onto the embossing folder in the order you want it to show on your card. Running just the strips of paper through the Cuttlebug, then adhering them to your card front, allows just the banner strips to have the texture, not the whole card. The stamp set is from the
Balloon Ride WOTG Scrapbooking kit stamped in Sorbet, and the Chocolate Striped Grosgrain Ribbon (no longer available), and a couple
Brown Sparkles for embellishment.
Randa, thanks for teaching...can't wait to experiment with more techniques!
Embossing quickly adds texture to your paper by slipping it inside one of our 5"x7" (actual size 5-1/4"x7-1/4") clear plastic, patterned embossing folders, then pressing with your embossing machine. It has been brought to my attention, that the CTMH Embossing Folders do NOT fit the Sizzix Texture Boutique machine (with a 5" opening) without modification.
Modification is simple (I had a friend share her modification with me) and I'm happy to share her idea with you! Now she is able to use our Embossing Folders with her Boutique machine. Contact me.